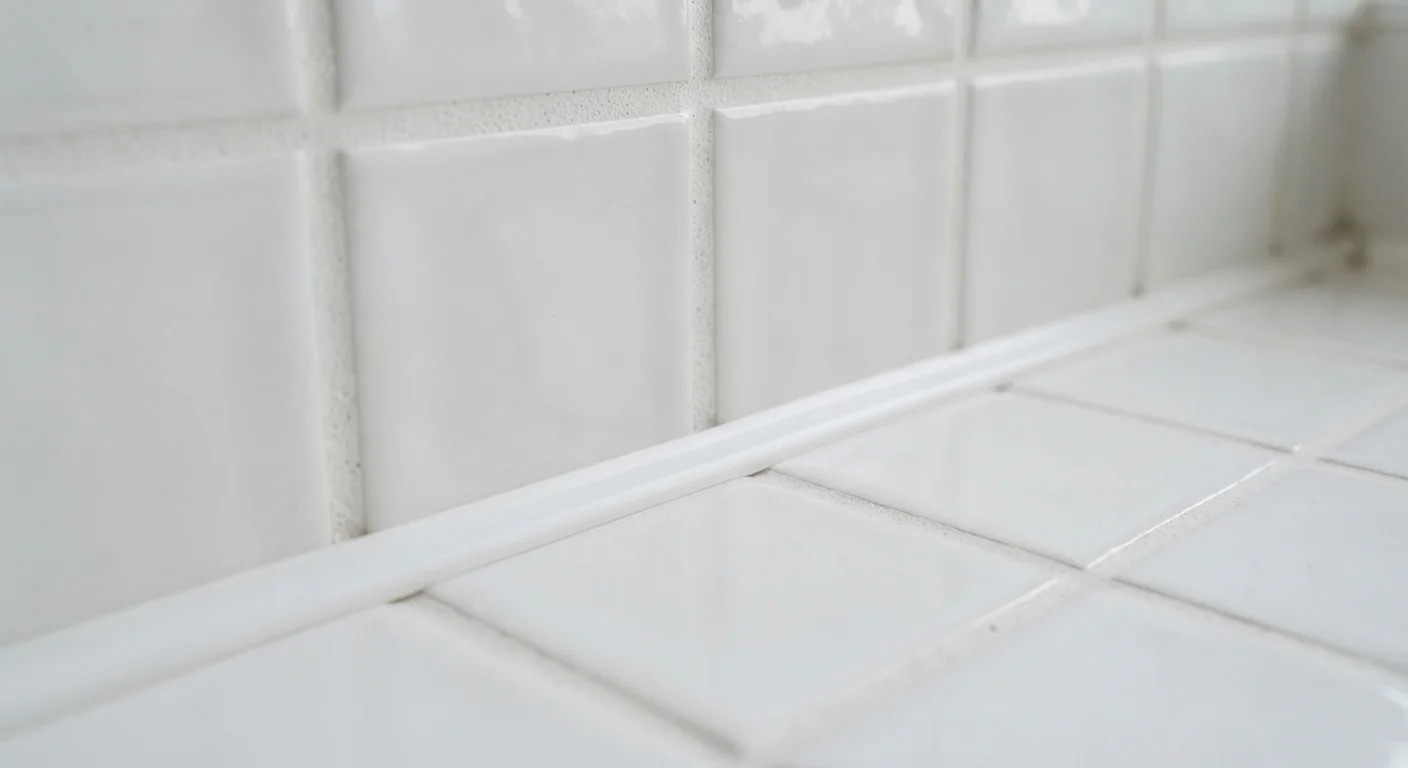
What Each Material Is — and How It Works
Grout is a cement-based compound — available in sanded and unsanded formulas — designed to fill the gaps between tiles once the adhesive (thinset mortar) has fully cured. It is mixed as a paste, pressed into joints, and hardens into a rigid, stone-like fill. Sanded grout is used for joints wider than about 1/8 inch; unsanded grout is used for narrower joints or on delicate tile surfaces like glass or polished marble.
Caulk is an elastomeric sealant — most commonly silicone, latex, or a siliconized-latex blend — that cures into a flexible, rubbery bead. It is applied from a tube or cartridge gun and bonds tightly to adjacent surfaces while remaining pliable enough to stretch and compress without breaking. Silicone caulk offers superior water and mold resistance; latex formulas are easier to tool and paint over.
The essential difference: grout is rigid; caulk is flexible. That single characteristic determines where each one belongs.
| Criterion | Grout | Caulk |
|---|---|---|
| Base material | Cement-based (sanded or unsanded) | Silicone, latex, or siliconized latex |
| Flexibility when cured | Rigid | Flexible and elastic |
| Correct joint type | Tile-to-tile on the same plane | Change-of-plane and transition joints |
| Water resistance | Moderate (porous unless sealed) | High (especially silicone formulas) |
| Paintable | Yes, after sealing | Latex yes; silicone generally no |
| Typical lifespan | 10–15+ years if properly applied | 5–10 years before reapplication needed |
| Application tool | Rubber grout float | Caulk gun and tooling instrument |
Where Each Material Belongs — and Why Placement Matters
The Tile Council of North America (TCNA) Handbook — the authoritative industry reference for tile installation — specifies that every change-of-plane joint and every joint where tile meets a dissimilar material (such as a tub deck, countertop, or wood threshold) should be filled with a flexible sealant, not grout.
The reasoning is structural. Buildings are not perfectly static. Floors deflect slightly under load. Walls shift with temperature and humidity. Two surfaces meeting at a corner move independently of each other. A rigid grout joint bridging that movement will crack — often within months — allowing water to infiltrate behind the tile, where it can damage substrate material, promote mold growth, and eventually loosen tiles.
TCNA Guidance on Change-of-Plane Joints
The Tile Council of North America Handbook recommends that joints at all changes of plane — including floor-to-wall, wall-to-ceiling, and wall-to-tub transitions — be filled with a flexible sealant rather than grout. This guidance applies whether the installation is residential or commercial. Checking the current edition of the TCNA Handbook or consulting a licensed tile installer can help confirm the correct specification for your specific project type and substrate.
By contrast, the flat field of tiles on a shower wall or a bathroom floor sits on a single, shared substrate. The tiles expand and contract together, and a rigid grout joint handles that shared movement without stress. Using caulk in a tile field would create soft, compressible joints that dimple underfoot, attract dirt, and lack the structural integrity the tile system needs.
A practical rule of thumb: if the joint is between two tiles on the same surface, use grout. If the joint is where two surfaces or materials meet, use caulk.
90%+
Of shower leaks caused by failed corner joints
Tile industry professionals commonly attribute the majority of behind-tile water damage to improperly grouted — rather than caulked — change-of-plane joints.
5–10 yrs
Typical caulk service life before replacement
Silicone and siliconized-latex caulks generally need inspection and reapplication every five to ten years, depending on moisture exposure and cleaning habits.
1/8 in
Joint width threshold for sanded vs. unsanded grout
Joints wider than approximately 1/8 inch require sanded grout to prevent excessive shrinkage and cracking as the material cures.
How to Achieve a Clean, Lasting Application
Whether grouting or caulking, surface preparation is the most important step. Grout bonds best when tile edges are clean and free of thinset residue; any debris left in the joint will create a weak spot. Press grout firmly into joints using a rubber grout float held at a 45-degree angle, working diagonally across the tile to pack the material fully. Remove haze with a damp sponge before it dries.
For caulk joints, the surface must be completely dry and free of old caulk, soap scum, or grease — all of which will prevent adhesion. Use a utility knife or oscillating tool to remove existing caulk fully before applying a new bead. Apply painter's tape on both sides of the joint to keep lines straight, run a smooth continuous bead, and tool it with a wet finger or plastic tool immediately. Remove the tape before the caulk skins over.
At corners where grout meets caulk — such as a shower wall corner — choose a caulk color that closely matches your grout for a seamless look. Most caulk manufacturers offer color-matched lines designed for exactly this purpose.
When to call a professional: If you notice recurring grout cracks in the same location, the cause may be subfloor flex, inadequate tile adhesive coverage, or missing expansion joints — conditions that require professional diagnosis before any filler is reapplied.