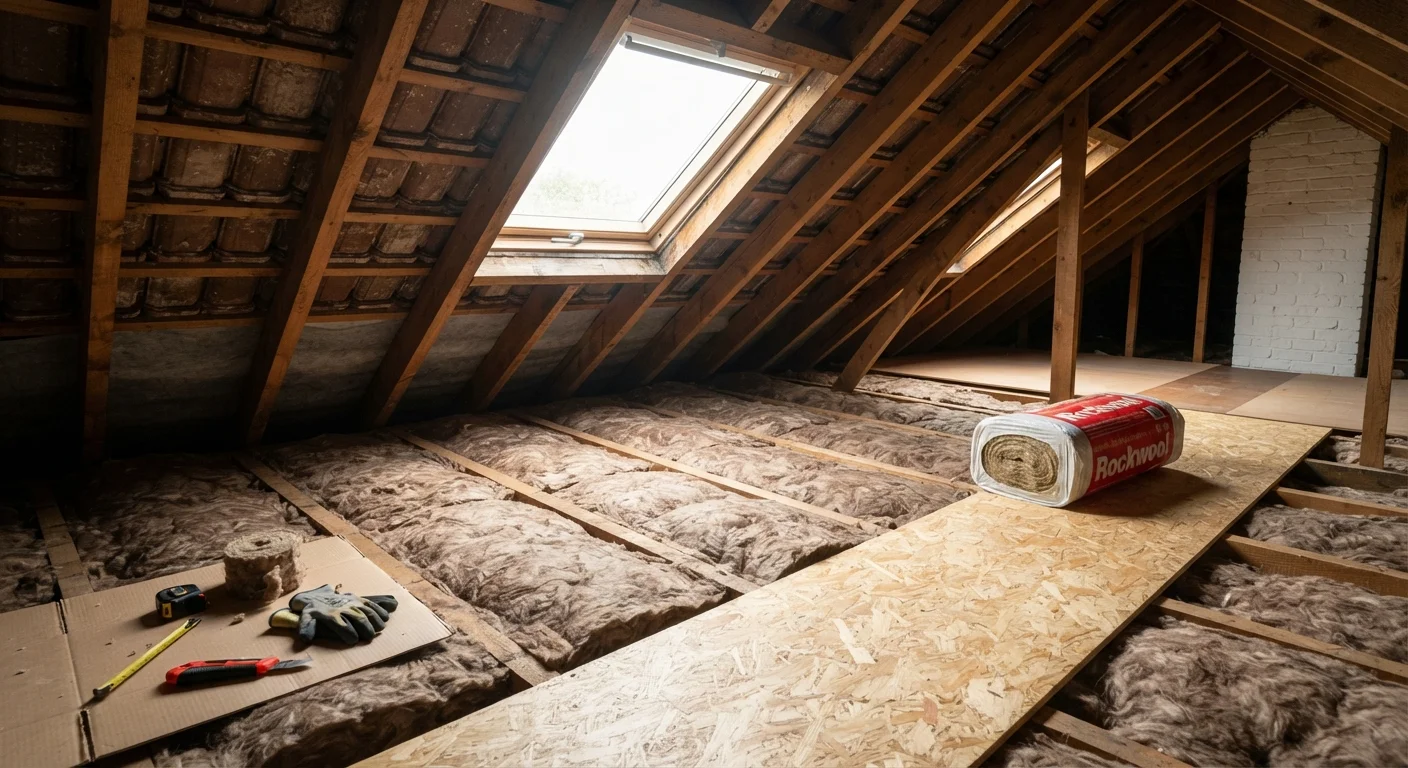
Why Loft Insulation Matters
Heat rises, and in a home without adequate loft insulation, a significant portion of your heating energy escapes straight through the roof. Estimates from building science organizations consistently place the roof and loft area as one of the largest sources of heat loss in a typical house. Adding or upgrading loft insulation is often cited as one of the most cost-effective improvements a homeowner can make to reduce energy consumption.
Beyond energy efficiency, proper insulation helps regulate indoor temperatures year-round — keeping living spaces cooler in summer as well as warmer in winter. It can also reduce condensation risk when installed correctly alongside adequate ventilation.
25%
Heat lost through an uninsulated roof
The U.S. Department of Energy estimates approximately 25% of a home's heat loss occurs through the attic in inadequately insulated homes.
R-49 to R-60
Recommended attic R-value for cold climates
The U.S. Department of Energy's recommended insulation levels for attic floors in Climate Zones 5–8 (northern states).
2 inches
Minimum recommended eave ventilation gap
Building science practitioners generally recommend a minimum 2-inch clear channel between insulation and roof deck at the eaves to maintain adequate airflow.
Choosing the Right Insulation Material
The material you choose affects installation difficulty, thermal performance, durability, and cost. Here is a practical overview of the most widely used options:
- Mineral wool (glass wool or rock wool) batts
- The most common DIY-friendly option. These flexible rolls or batts are cut to fit between joists. They are fire-resistant, moisture-tolerant, and widely available. Glass wool tends to be lighter; rock wool is denser and offers slightly better sound absorption.
- Loose-fill cellulose
- Made from recycled paper fiber treated with fire retardant, blown-in cellulose fills awkward gaps and irregular joist bays easily. It performs well thermally but requires a blower machine, which can usually be rented.
- Loose-fill mineral wool
- Similar application to cellulose but made from inorganic fibers. Slightly more moisture-resistant than cellulose and will not settle as much over time.
- Rigid foam boards
- Used mainly in warm roof applications (between or below rafters) rather than on loft floors. High R-value per inch, but more complex to fit and generally requires professional installation in structural applications.
When fitting mineral wool rolls, leave them slightly proud of the joist top — do not compress the material to make it flush. The second cross layer will seat cleanly on top without reducing the first layer's performance.
Compressed insulation loses R-value in direct proportion to how much it is squeezed, because the trapped-air pockets that provide resistance are reduced.
Before purchasing loose-fill, confirm that your joist spacing and bay dimensions are consistent throughout the loft — irregular bays or blocked runs can make blown-in installation far more difficult than anticipated.
Irregular framing is common in older homes and can cause loose-fill to channel unevenly, leaving cold spots that undermine overall thermal performance.
Whatever material you choose, look for products that carry recognized fire-safety and environmental certifications appropriate for your region, and verify compatibility with your local building code before purchasing.
Understanding Depth and R-Value
R-value is the standard measure of thermal resistance — the higher the number, the greater the insulating effect. The appropriate R-value for your loft floor depends on your climate zone. In colder northern US climates, current guidelines from the U.S. Department of Energy generally recommend R-49 to R-60 for attic floors; more temperate regions may call for R-38.
In practical depth terms, achieving R-49 with standard mineral wool typically requires roughly 14–16 inches of total insulation. A two-layer approach — one layer between the joists, a second layer running perpendicular on top — is the standard method for reaching these depths without compressing the bottom layer (compression reduces R-value).
Do Not Compress Insulation to Hit a Depth Target
If your joists are shallower than the recommended insulation depth, the answer is to add a cross layer on top — not to compress a thicker batt into the available space. A mineral wool batt compressed to half its rated thickness can lose a third or more of its stated R-value. Always match the first layer to your joist depth and build up with a second layer to reach the total performance target.
Warm Roof Work Requires Professional Oversight
Converting a cold attic to a warm roof assembly involves building permits, structural assessment, and careful moisture-management design. An improperly detailed warm roof can trap moisture inside the rafter assembly, causing rot that may not be visible for years. Do not attempt a warm roof conversion without involving a licensed building professional and obtaining the required permits from your local authority.
Always check the manufacturer's stated R-value per inch for the specific product you purchase, as it varies between materials and product grades.
Ventilation: The Rule You Cannot Skip
Ventilation in an unfinished loft (also called a cold attic) is not optional. Air must be able to flow from the eaves (soffit vents) up and out through a ridge vent or gable vents. This airflow carries away moisture-laden air that rises from living spaces below, preventing condensation from forming on the roof deck and structural timbers.
Never Block Soffit or Eave Vents
Pushing insulation all the way into the eaves — even unintentionally — can seal off soffit vents and eliminate the cross-ventilation your roof structure depends on. Without airflow, warm moist air condenses on cold roof timbers, leading to mold growth and structural rot that can be expensive to remediate. Always install vent baffles before laying any insulation, and double-check that they are secure before covering them.
When insulating the loft floor, the insulation must never be pushed all the way into the eaves to the point of blocking the soffit vents. Maintain a clear channel — typically at least 1 inch, though 2 inches is preferable — between the top of the insulation and the underside of the roof deck at the eaves. Pre-formed vent baffles (also called rafter baffles or insulation stops) stapled to the roof deck before insulating are the standard way to hold this gap open reliably.
Installation Principles for a Cold Loft
A cold loft is one where the living space ceiling is insulated but the roof space itself is left unheated. This is the most common residential configuration and the simplest to insulate as a DIY project.
- Prepare the space. Clear stored items, check for any signs of roof leaks or existing moisture damage, and repair before insulating. Insulation will trap existing dampness and accelerate rot.
- Install baffles at the eaves. Fit rigid vent baffles between every rafter pair before laying any insulation material. This step protects ventilation airflow permanently.
- Fill between the joists first. Lay the first layer of insulation snugly between joists, cutting to fit around obstacles. Avoid compressing the material.
- Add a cross layer on top. Run a second layer perpendicular to the joists to eliminate thermal bridging through the timber framing itself.
- Leave the loft hatch accessible and insulated separately. Hatch covers are often a significant source of heat loss and should be fitted with an insulated cover board or proprietary hatch insulator.
Check Your Loft Hatch — It Matters More Than You Think
Loft hatches are frequently overlooked when insulating. A bare timber hatch cover with no insulation or draught seal can account for a disproportionate amount of heat loss given its small size. Fit a proprietary insulated hatch cover or bond rigid foam board to the back of the existing hatch, and add a compression draught seal around the frame.
After installation, check that all electrical junction boxes in the loft are accessible and not buried under insulation in ways that could pose a fire or maintenance hazard. Consult a licensed electrician if you have any doubts about electrical safety in the space.
Warm Roof and Sloped-Ceiling Situations
A warm roof places insulation at rafter level rather than at the floor, bringing the loft space itself inside the building's thermal envelope. This approach is used when the loft is converted into living space or when you want a conditioned attic. It is considerably more complex than a cold loft floor installation.
Rigid foam, spray foam, or high-performance batts may be used between and below rafters in a warm roof assembly, but the design must account for moisture management — some assemblies require a vapor retarder, others rely on vapor-permeable materials. Because mistakes can lead to structural rot within the roof assembly, warm roof conversions almost always require building permits and should be designed and supervised by a licensed building professional. Do not treat this as a standard DIY project.
Common Mistakes to Avoid
Even straightforward cold loft insulation projects can go wrong. Watch out for these frequently made errors:
- Blocking eave ventilation. As emphasized above, this is the single most consequential mistake — it creates the conditions for structural decay.
- Compressing batts. Squeezing mineral wool to fit a tighter space reduces its R-value proportionally. Use the correct thickness for your joist depth.
- Ignoring existing moisture. Insulating over a damp loft traps the problem. Investigate and resolve any leak or condensation issue first.
- Skipping the hatch. A well-insulated floor with an uninsulated hatch is like a well-sealed envelope with the flap left open.
- Covering recessed lighting without checking fire ratings. Some recessed fixtures require clearance from insulation. Check manufacturer guidance and local codes, or have an electrician evaluate them before covering.
“Air sealing and insulation work together — insulating without addressing air leaks is like putting on a sweater with the zipper open. You get some benefit, but you leave a lot of performance on the table.”
— Building Science Corporation, Building science research and education organization
This article is for general informational and educational purposes only. Always verify local building codes, permit requirements, and safety regulations with your local authority before beginning any loft insulation project. For electrical work, structural changes, or warm roof conversions, consult a licensed professional.