What Is Damping Off — and Why Does It Strike So Fast?
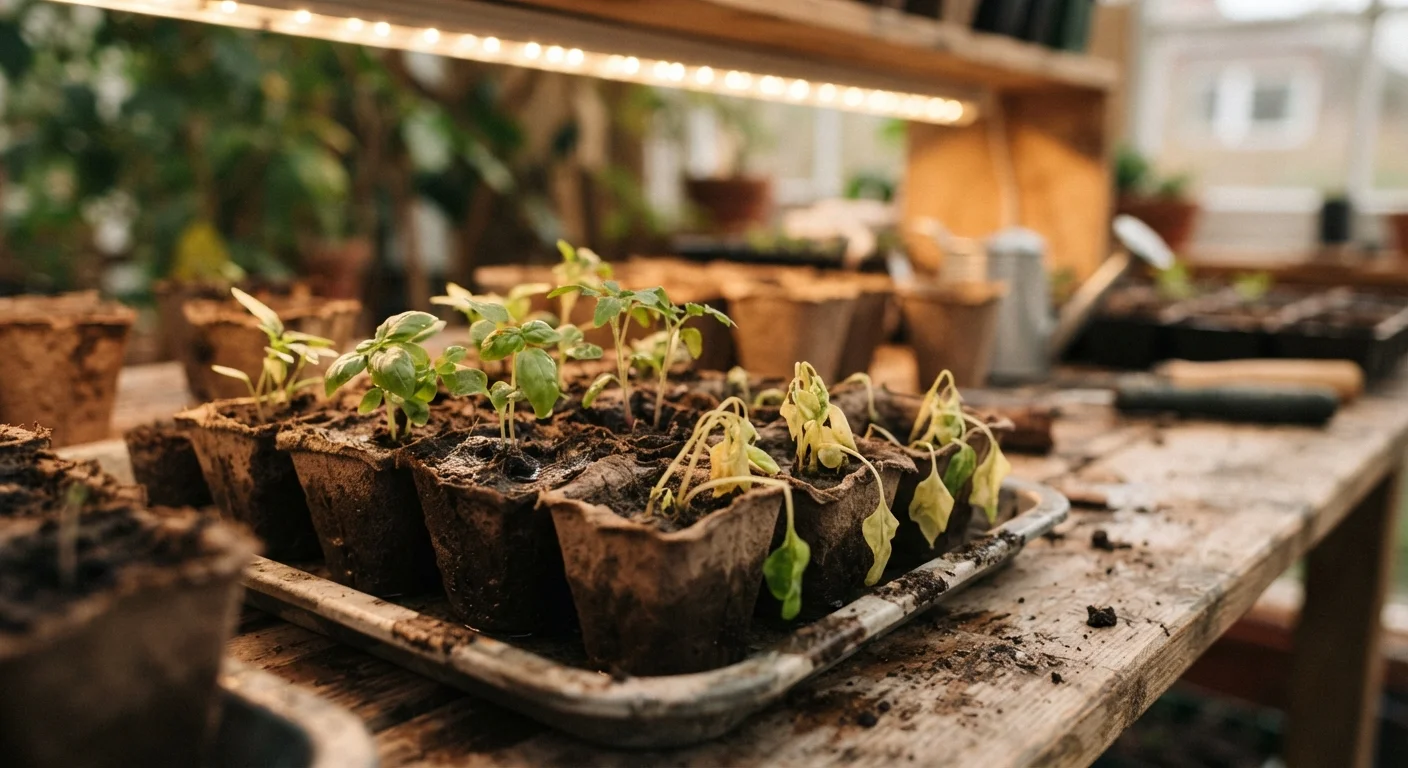
If your seedlings sprout confidently and then suddenly collapse at the soil line within days, you are almost certainly dealing with damping off — a catch-all term for a group of fungal and mold pathogens (including Pythium, Rhizoctonia, and Fusarium species) that attack young stems at or just below the soil surface. The affected stem looks pinched, water-soaked, and darkened, and the seedling topples over as if cut.
Damping off thrives in the same conditions that feel comfortable to germinating seeds: warmth and moisture. But when those conditions persist too long without airflow or light, the pathogens overtake the seedlings before their stems have time to toughen up. The disease spreads quickly through a tray, so acting at the first sign of collapse matters.
Damping Off Cannot Be Reversed
Once a seedling has collapsed from damping off, it cannot be saved. Remove affected seedlings immediately and isolate the tray from healthy ones to slow the spread. Do not try to dry out and reuse the mix from an affected tray — discard it and start fresh with sterile materials.
The Most Common Mistakes That Kill Seedlings
Understanding exactly where things go wrong gives you the clearest path to getting them right. The mistakes below cover the full range of seedling-stage errors — from the potting bench to the windowsill.
Overwatering seedlings, keeping the growing medium constantly saturated.
Why it happens: Gardeners worry that tiny seedlings will dry out, so they water frequently and generously. Wet conditions feel like nurturing, but roots need oxygen as much as moisture.
Using non-sterile garden soil or reused potting mix in seed trays.
Why it happens: It feels economical and practical to reuse what is already on hand. However, garden soil and used mix can carry fungal spores, weed seeds, and pathogens that are harmless to established plants but lethal to seedlings.
Providing insufficient light, leading to weak, elongated (leggy) seedlings.
Why it happens: Most indoor window light is lower intensity than it appears, especially in winter and early spring. Seedlings stretch toward the light source, producing thin stems that cannot support healthy growth.
Skipping air circulation, creating a stagnant, humid microclimate.
Why it happens: Humidity domes and enclosed spaces feel protective, and gardeners leave them in place longer than necessary after germination.
Sowing seeds too densely in the tray without thinning.
Why it happens: More seeds feel like insurance against poor germination rates. But crowded seedlings compete for light and airflow, and disease spreads rapidly through a dense canopy.
80%
Seedling failures linked to overwatering or poor drainage
Extension horticulture programs consistently note that excess moisture — not underwatering — is the leading cause of seedling loss in home growing.
2–4 inches
Ideal grow light distance above seedling canopy
University cooperative extension guidelines recommend keeping fluorescent or LED grow lights at this height to deliver adequate intensity without heat stress.
Building Better Conditions From the Start
Prevention is far easier than rescue once seedlings begin failing. Start with a sterile, soilless seed-starting mix rather than garden soil or potting compost, both of which can harbor pathogens and compact too densely for tender roots. Use clean containers — a quick rinse with a diluted bleach solution (one part bleach to nine parts water) between uses is sufficient to remove residual disease.
Water from below when possible: set your trays in a shallow pan of water and allow the mix to absorb moisture upward, then remove the tray before it sits in standing water. This keeps the surface drier and reduces the moist conditions that damping off requires. Once seedlings emerge, improve airflow by removing humidity domes and positioning a small fan nearby on its lowest setting.
Light is often the most underestimated factor indoors. A south-facing windowsill rarely delivers the intensity that seedlings need, especially in late winter. Supplemental grow lights placed 2–4 inches above the seedling canopy for 14–16 hours a day make a significant difference in stem strength and overall vigor. As your seedlings mature, gradually introduce them to outdoor conditions — a process called hardening off — before transplanting. For guidance on protecting your garden investment through seasonal transitions, see our end-of-season garden closedown guide.
Avoid Fertilizing Too Early
Seedlings in sterile seed-starting mix have no nutrient buffer, which can tempt gardeners to add fertilizer early. However, young seedlings are highly sensitive to fertilizer salts, and feeding before the first true leaves appear can burn roots and cause collapse. Wait until the first true leaves are visible, then use a diluted, balanced liquid fertilizer at half the recommended strength.