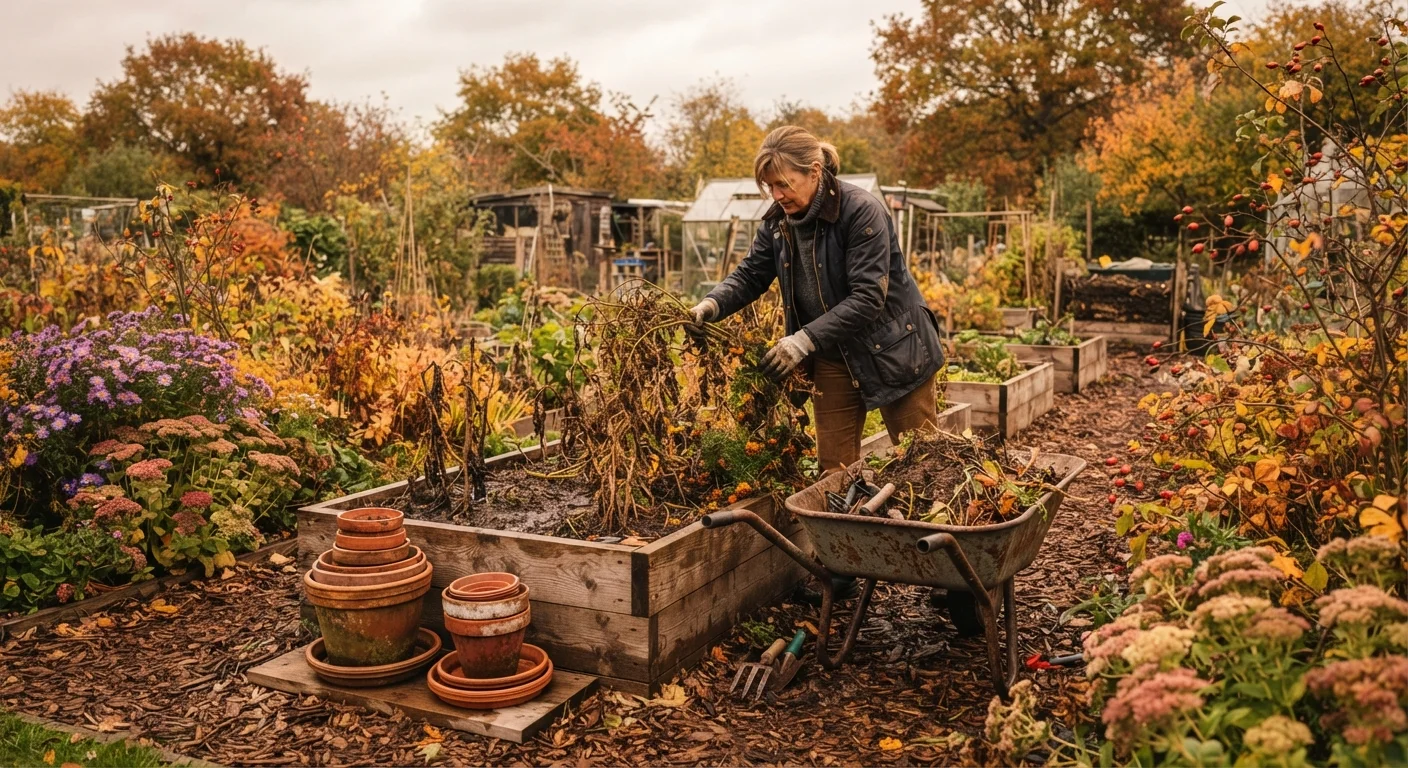
Why an Autumn Garden Closedown Matters
The weeks between the last harvest and the first hard frost are one of the most productive windows in the gardening calendar — not for growing, but for setting the stage. How you close down a garden in autumn directly influences how healthy, fertile, and pest-free it will be when you start again in spring.
Skipping this work doesn't save time; it shifts it forward with interest. Overgrown beds left to winter down unmanaged tend to harbor disease spores, overwintering pest populations, and weed seed banks that take considerable effort to address later. A methodical autumn closedown breaks that cycle.
If you're building on a new growing season and want a broader seasonal framework to refer back to, see our season-by-season vegetable garden guide for planning context that complements this checklist.
Use the checklist below as a walk-through guide. Not every item will apply to every garden — adapt it to your space, climate zone, and what you've been growing this year.
Garden fork or spade
Loosening soil for amendment and lifting bulbs without slicing through them.
Pruning shears and loppers
Cutting back perennial stems and removing dead or diseased woody growth.
Wheelbarrow or garden cart
Transporting plant debris, compost, and mulch efficiently across the garden.
Soil test kit
Checking pH and basic nutrient levels so amendments can be applied accurately before winter.
Wire brush and linseed oil
Cleaning and conditioning metal tool heads and wooden handles for winter storage.
Burlap or frost cloth
Wrapping tender shrubs and young trees to protect against wind desiccation and hard freezes.
The Autumn Garden Closedown Checklist
Work through these groups in rough order — clearing and cleanup first, then soil care, then plant protection, and finally equipment. This sequence prevents double-handling and ensures each task builds on the last.
Clearing and Cleanup
Soil Care and Amendment
Plant Protection and Bulb Care
Tools and Infrastructure
Don't Compost Diseased Plant Material
Stems, leaves, or roots showing signs of fungal disease, bacterial blight, or heavy pest damage should go into your municipal green-waste bin — not your home compost pile. Home compost rarely reaches temperatures high enough to destroy pathogens reliably. Adding diseased material risks reintroducing the same problems to your beds next year when you use that compost.
Soil and Mulch: The Foundation of Spring Success
Autumn is one of the best times to invest in your soil. When you add compost, aged manure, or other organic matter in the fall, the material has months to break down and integrate before you plant again. This is far more effective than amending right before planting in spring.
Once your beds are cleared and amended, mulching is the final protective step. A layer of mulch applied after the soil has cooled — but before the ground freezes — insulates roots, reduces heaving caused by freeze-thaw cycles, and suppresses early-germinating weeds. For detailed guidance on choosing and applying the right mulch, our mulching guide covers timing, depth, and material selection in depth.
Know Your First Frost Date Before You Start
The entire timing of this checklist depends on knowing roughly when your first frost is expected. Frost dates vary significantly across U.S. climate zones — sometimes by six weeks or more between neighboring regions. Check your local cooperative extension service website or the USDA Plant Hardiness Zone Map for a reliable average frost date for your specific area. Starting this checklist two to three weeks before that date gives you a comfortable working window.
Avoid applying mulch too early in autumn while the soil is still warm — this can invite rodents to nest and may keep soil temperatures elevated longer than desirable for spring bulbs.
Tools, Containers, and Infrastructure
Garden tools represent a genuine investment, and autumn is the right moment to clean, sharpen, and store them properly. Soil left on metal surfaces over winter accelerates rust. Wooden handles left damp can crack or splinter. A short cleaning session now extends the life of your equipment measurably.
Terracotta and ceramic containers should be emptied, scrubbed, and stored in a frost-free space — both materials can crack when water in the soil or pot wall freezes and expands. Plastic containers are generally more frost-tolerant but benefit from cleaning and stacking out of direct weather exposure.
Check any irrigation lines, soaker hoses, or drip emitters. Drain and disconnect them before freezing temperatures arrive; water trapped inside plastic or rubber lines can cause splits that aren't obvious until you turn the system on in spring.
This article provides general gardening guidance for informational purposes. Conditions, frost dates, and plant hardiness vary by region — consult your local cooperative extension service or a qualified horticulturalist for advice specific to your climate zone and plant varieties.