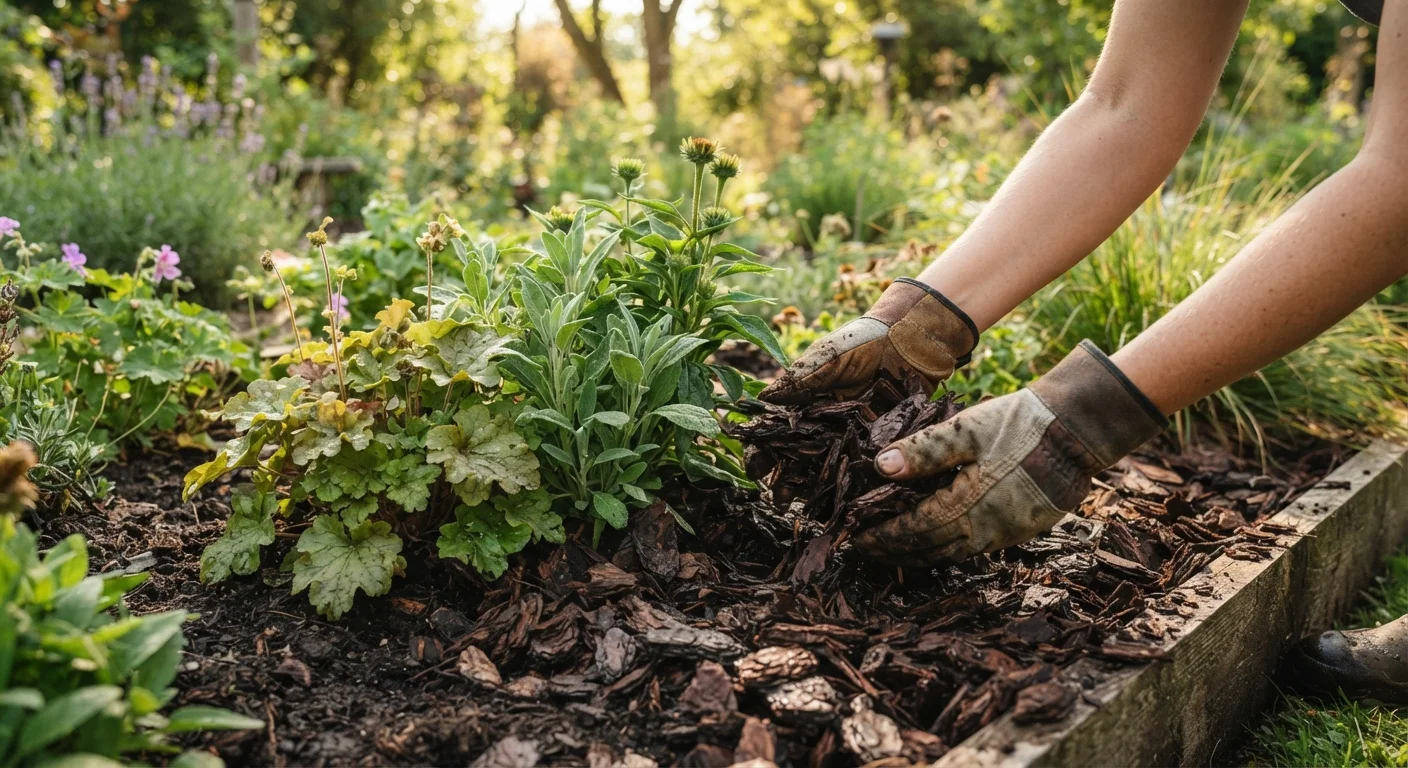
Why Mulching Is Worth Getting Right
Mulch is one of the most versatile tools in a gardener's toolkit — but it's also one of the most frequently misapplied. Done well, a layer of mulch retains soil moisture, moderates ground temperature, suppresses weed germination, and — in the case of organic materials — feeds soil biology as it breaks down. Done poorly, the same layer can harbour pests, promote fungal disease, and starve plant roots of oxygen.
Understanding your soil is a smart starting point. If you haven't explored how your existing ground behaves, our guide to reading your soil type can help you make more informed mulching decisions before you spread a single bag.
25–50%
Reduction in soil moisture loss with mulch
University extension research consistently shows that a proper mulch layer can cut evaporation from bare soil by up to half, depending on climate and material.
2–4 inches
Recommended mulch depth for most garden beds
This range, widely cited by cooperative extension services across the US, balances weed suppression, moisture retention, and root aeration.
Timing Your Application for Maximum Effect
Most gardeners mulch once a year and call it done, but when you apply matters as much as how much you use.
- Spring: Wait until the soil has had a chance to warm — typically after your last frost date and once the ground temperature has risen above 50°F. Mulching over cold, wet soil traps the chill and slows plant establishment.
- Fall: Apply a fresh layer after plants go dormant but before the ground freezes hard. This insulates roots through winter and reduces frost heaving. See our end-of-season garden closedown checklist for how mulching fits into your autumn prep.
- Midsummer: A light top-up after a dry spell can restore moisture retention without the risk of smothering emerging growth.
Watch the Soil Temperature, Not the Calendar
Spring planting dates vary significantly by region, and so does the right moment to mulch. Rather than relying on a fixed date, use an inexpensive soil thermometer to confirm the ground has warmed to an appropriate level for your crops before laying mulch down. Cooperative extension services in your state often publish crop-specific soil temperature targets.
Depth and Placement: The Details That Define Results
The standard recommendation of 2–4 inches exists for good reason. Below 2 inches, mulch fails to reliably suppress weed seeds or retain moisture through dry spells. Beyond 4 inches, soil gas exchange is restricted and water may actually be repelled rather than absorbed — a counterproductive outcome known as hydrophobic layering.
Keep mulch pulled back 1–2 inches from plant stems and tree trunks.
Direct contact between moist mulch and woody stems creates a consistently damp environment that promotes fungal disease and attracts pests like voles. This is sometimes called 'volcano mulching' when piled against trunks — a widespread habit that slowly damages plants over time.
Remove or loosen old mulch before adding a fresh layer.
Successive layers of mulch accumulate into a dense mat that sheds water and blocks air movement to roots. Breaking up or raking the existing layer first ensures the new application integrates with soil rather than forming a separate barrier.
Match mulch depth to your plant type and growth stage.
Established perennials and shrubs tolerate 3–4 inches well, while seedlings and shallow-rooted annuals are better served by a lighter 1–2 inch layer. Applying a uniform depth across all bed types ignores meaningful differences in plant physiology.
Wet the soil before applying mulch in dry conditions.
Spreading mulch over parched soil locks moisture out rather than in. Pre-wetting allows the mulch to perform its moisture-retention function from the moment it's applied rather than simply acting as a dry cap.
For vegetable beds — especially if you're working with a raised bed setup — aim for the lower end of the range (2–3 inches) to avoid interfering with direct-sown seeds and shallow-rooted crops.
Choosing the Right Material for Your Garden
Not all mulch is created equal. The right choice depends on your plants, your aesthetic goals, and how much ongoing maintenance you're willing to do.
- Shredded bark or wood chips: Durable, attractive, and slow to decompose. Well suited to ornamental beds and around trees. Avoid placing fresh wood chips directly against vegetable crops, as the high carbon content can temporarily tie up soil nitrogen.
- Straw: A practical, affordable option for vegetable beds. It breaks down faster than bark, improving soil texture, and is easy to pull aside for planting. Note that hay (not straw) often carries weed seeds.
- Compost: Doubles as a soil amendment. Less effective at weed suppression than coarser materials but excellent for feeding soil biology. Best used as a thin underlayer beneath a coarser mulch.
- Gravel or stone: Inorganic and long-lasting. Suited to drought-tolerant plantings and pathways. Provides no nutritional benefit to soil and can increase surface heat — an advantage in cool climates, a liability in hot ones.
- Shredded leaves: A freely available and effective organic option. Whole leaves can mat and repel water; shred or run a mower over them first.
“Mulch is the garden's blanket — it keeps things comfortable beneath the surface. But like any blanket, it works best when it fits well and isn't pulled up over the face.”
— Linda Chalker-Scott, Extension Horticulturist, Washington State University
If you're incorporating mulching into a broader companion planting strategy, consider how your material choices affect soil temperature and moisture around interplanted crops. Our article on companion planting pairings that actually work explores how bed conditions influence plant relationships.
Quick Wins to Start With
Whether you're mulching for the first time or refining an existing routine, these actions deliver noticeable results without requiring a full garden overhaul.
Fresh Wood Chips and Nitrogen: A Nuance Worth Knowing
A common concern is that fresh wood chip mulch 'steals' nitrogen from the soil and harms plants. In practice, this effect is largely limited to the mulch-soil interface and doesn't significantly affect established plants with roots growing deeper. That said, mixing fresh chips directly into soil — rather than laying them on top — can temporarily reduce available nitrogen. Use composted wood chips when in doubt, especially in vegetable beds.