Planning Before You Plant
Every productive vegetable garden starts with decisions made long before seeds go into soil. New gardeners who skip this stage often find themselves overwhelmed mid-season — too many plants, the wrong spot, or soil that can't support growth.
Begin by choosing your location. Vegetables generally need six to eight hours of direct sunlight per day. Walk your yard at different times and note which areas get consistent sun exposure. Avoid low spots where water pools after rain, since most vegetables dislike waterlogged roots.
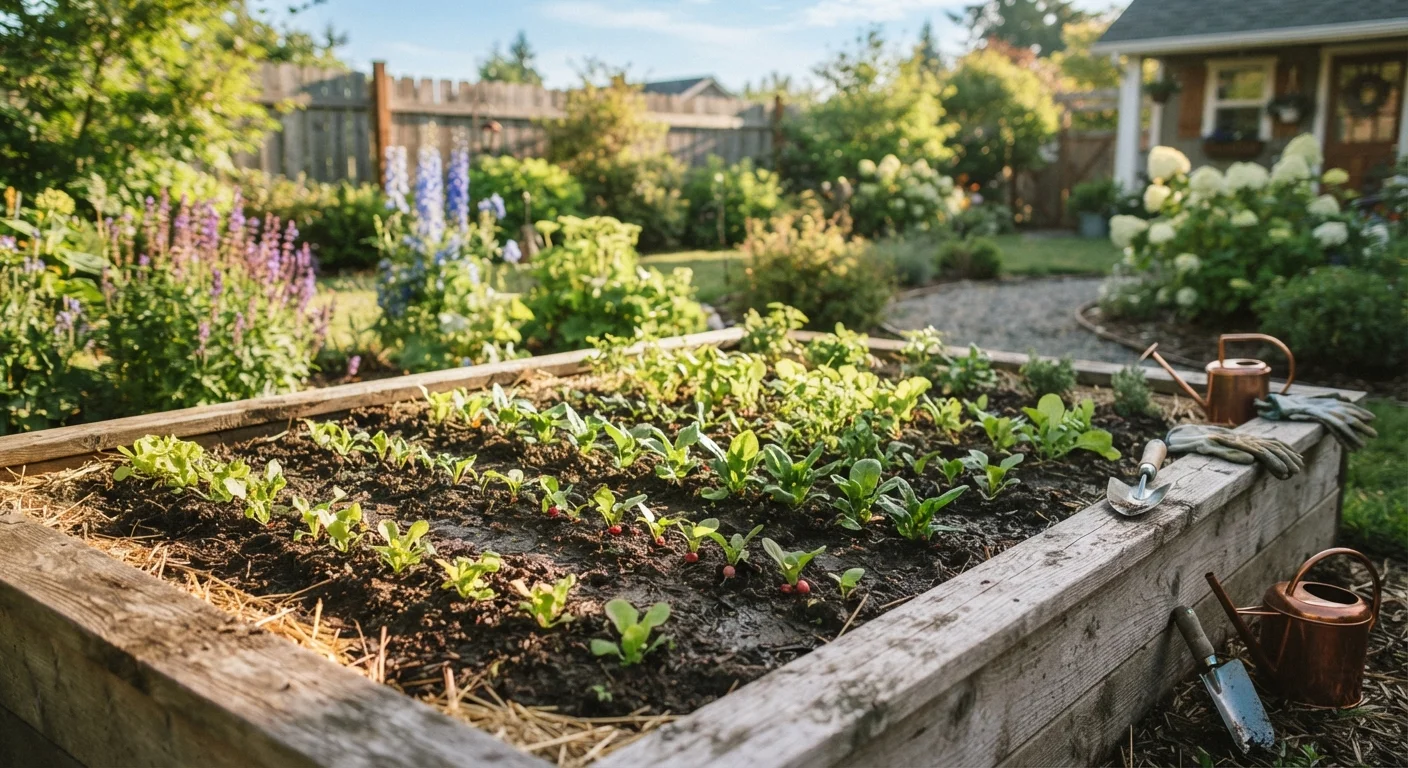
Next, decide on your format. A 4×8 foot raised bed is an excellent starting point — it's manageable, keeps pathways clear, and lets you control soil quality from the start. If you prefer in-ground planting, have your soil tested through your local cooperative extension office. A basic test reveals pH and nutrient levels so you can amend accordingly before planting anything.
Last frost date
The approximate calendar date after which your area is unlikely to experience freezing overnight temperatures. It's the anchor point for all spring planting schedules.
Direct sowing
Planting seeds directly into outdoor garden soil rather than starting them indoors and transplanting later. Used for crops that don't transplant well, like carrots and beans.
Transplant
A seedling started indoors (or purchased from a nursery) that is moved into outdoor garden soil once conditions are suitable. Common for tomatoes, peppers, and brassicas.
Compost
Decomposed organic matter — like kitchen scraps and yard waste — used to enrich garden soil with nutrients and improve its texture and drainage.
Hardening off
Gradually acclimating indoor seedlings to outdoor conditions over one to two weeks before transplanting, reducing transplant shock caused by sun, wind, and temperature changes.
Finally, choose crops you'll actually eat. It sounds obvious, but beginners often plant what seems ambitious rather than what suits their household. Focus on three to five crops your family regularly uses. Lettuce, green beans, zucchini, and cherry tomatoes are reliable starting points. For smarter plant pairings once you're comfortable, see our companion planting guide.
Spring: Setting Up for Success
Spring is the most action-packed season for a first-time vegetable gardener. The central reference point for all spring timing is your last expected frost date — the approximate calendar date after which overnight temperatures are unlikely to drop below freezing in your area. Your local cooperative extension service can provide this for your zip code.
Work backward from that date to build a rough planting schedule:
- 4–6 weeks before last frost: Start warm-season crops (tomatoes, peppers) indoors under grow lights or in a sunny south-facing window.
- 2–4 weeks before last frost: Direct-sow cold-tolerant crops outdoors — lettuce, spinach, peas, and radishes can handle light frosts.
- On or after last frost: Transplant warm-season seedlings outside and direct-sow beans, squash, and cucumbers.
Before planting, prepare your bed. Mix aged compost into the top several inches of soil to improve both drainage and fertility. If you're using a raised bed, a blend of topsoil, compost, and coarse material like perlite creates an ideal growing medium.
Keep a Simple Garden Journal
Write down what you plant, where you plant it, and when — even just a quick note on your phone works. This record helps you troubleshoot problems mid-season and makes planning next year's garden much faster. Note what germinated well, what struggled, and any pest or disease issues you spotted.
Label every row or planting zone as you go. Seedlings of different species often look identical at first, and losing track of what's planted where leads to spacing and care mistakes later.
Summer: Maintaining Momentum
Once plants are in the ground and growing, your role shifts from setup to stewardship. Summer maintenance comes down to three core tasks: watering consistently, managing weeds, and watching for problems early.
Watering: Most vegetable gardens need about one inch of water per week. Water deeply and less frequently rather than shallowly every day — deep watering encourages roots to grow downward, which makes plants more resilient during dry spells. Morning watering reduces fungal risk by allowing foliage to dry before evening.
Weeding: Weeds compete aggressively for nutrients and water. Staying on top of them during the first half of summer is far less work than reclaiming a bed that's been neglected. A layer of organic mulch — straw, shredded leaves, or wood chips — dramatically reduces how many weeds germinate. See our mulching guide for details on depth and material choices.
Don't Ignore Early Warning Signs
Yellowing leaves, spots, or stunted growth that appears on a few plants can spread quickly if left unaddressed. Identify the issue before it becomes a bed-wide problem. Your local cooperative extension office offers free or low-cost plant diagnostic resources that can help you identify common vegetable diseases and pests accurately.
Pest and disease monitoring: Check plants regularly — at least twice a week — for discoloration, holes in leaves, or wilting that doesn't resolve after watering. Catching problems early gives you more options for addressing them before they spread.
Harvest promptly when crops are ready. Leaving mature vegetables on the plant — especially zucchini and beans — signals the plant to slow production. Regular harvesting keeps plants actively producing throughout the season.
Fall: Wrapping Up and Looking Ahead
A good fall closedown is what separates gardeners who struggle in their second season from those who hit the ground running. As temperatures drop and production slows, shift your focus from harvest to preparation.
Start by clearing spent plant material. Remove dead or diseased plants entirely rather than letting them decompose in place — leaving diseased foliage can harbor pathogens that overwinter in soil. Healthy plant debris can go into your compost pile.
Once beds are cleared, add a generous layer of compost — two to three inches worked into the top of the soil — to replenish nutrients consumed during the growing season. Then cover bare soil with mulch to prevent erosion, reduce compaction from winter rain, and moderate soil temperature swings. Our end-of-season garden closedown checklist walks through every step in sequence.
Your Second Season Will Be Easier
Most beginner gardeners find the first season involves a steep learning curve around timing, spacing, and watering. That's completely normal. The knowledge you gain from one full growing cycle — including the mistakes — is more valuable than any guidebook. Approach year one as an experiment, not a performance.
Use the quiet months to review your season honestly. What produced well? What underperformed or demanded too much attention? A few notes jotted in a simple notebook — or even a phone note — give you invaluable data when you plan next year's garden. Many experienced gardeners credit this kind of low-effort record-keeping as one of the most impactful habits they've built.
Growing your own food is a skill that compounds year over year. The first season teaches you your site, your soil, and your rhythm. Each season after that, you'll spend less time troubleshooting and more time enjoying the results.